4 Steps to Make A Montage Video
It only takes a few steps to preserve precious memories and show a loved one how much you care, but before we dive into how to make a montage, let’s answer some basic questions like “What is a montage video?” and “How does a video montage maker work?”
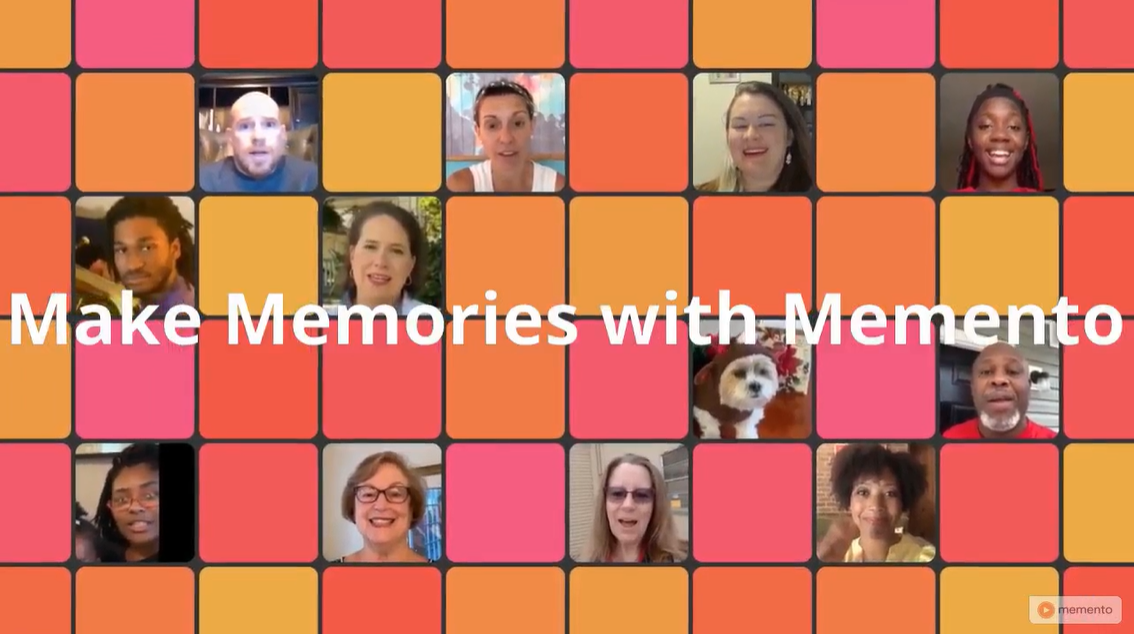
A video montage or montage video is a collection of video clips from loved ones typically created for different occasions like birthdays, weddings, retirements, or anniversaries. Memento’s video montage maker works simply: an organizer invites people to contribute to the montage, collects the video clips, and combines them to make a meaningful gift or keepsake for someone special.
Now that we’ve covered the basics, let’s take a look at the four steps needed to create a video montage!
1. Set Up Your Video Montage
Sign up with Memento and set up a new video montage for the special person or event that you're celebrating. Upload a personal photo, too, to help entice friends and family to join the video and pick a due date for the video clips! Then, send out the invites either by adding email addresses and phone numbers to have Memento send an invite by email or text, or by copying your unique link and sharing it through an email, text, or messaging app.
2. Collect Video Clips

Anyone who receives your invitation can record a video clip using a smartphone, desktop, laptop, or tablet as long as they have a working camera and microphone. Participants can submit a video clip using Memento’s video montage app or any internet browser. Every time someone submits a new video clip, you’ll get an email notification.
3. Customize Your Montage
Make your montage video extra special by customizing it! Learn how to organize and edit your video clips, add a personalized introduction to your montage, and include music and photos.
How to Organize & Edit Video Clips
Let’s get those video clips in the right order! Clips that are submitted to your montage are displayed in your dashboard in the chronological order in which they arrive; if you’d like to rearrange the clips, simply drag and drop them into your preferred order.
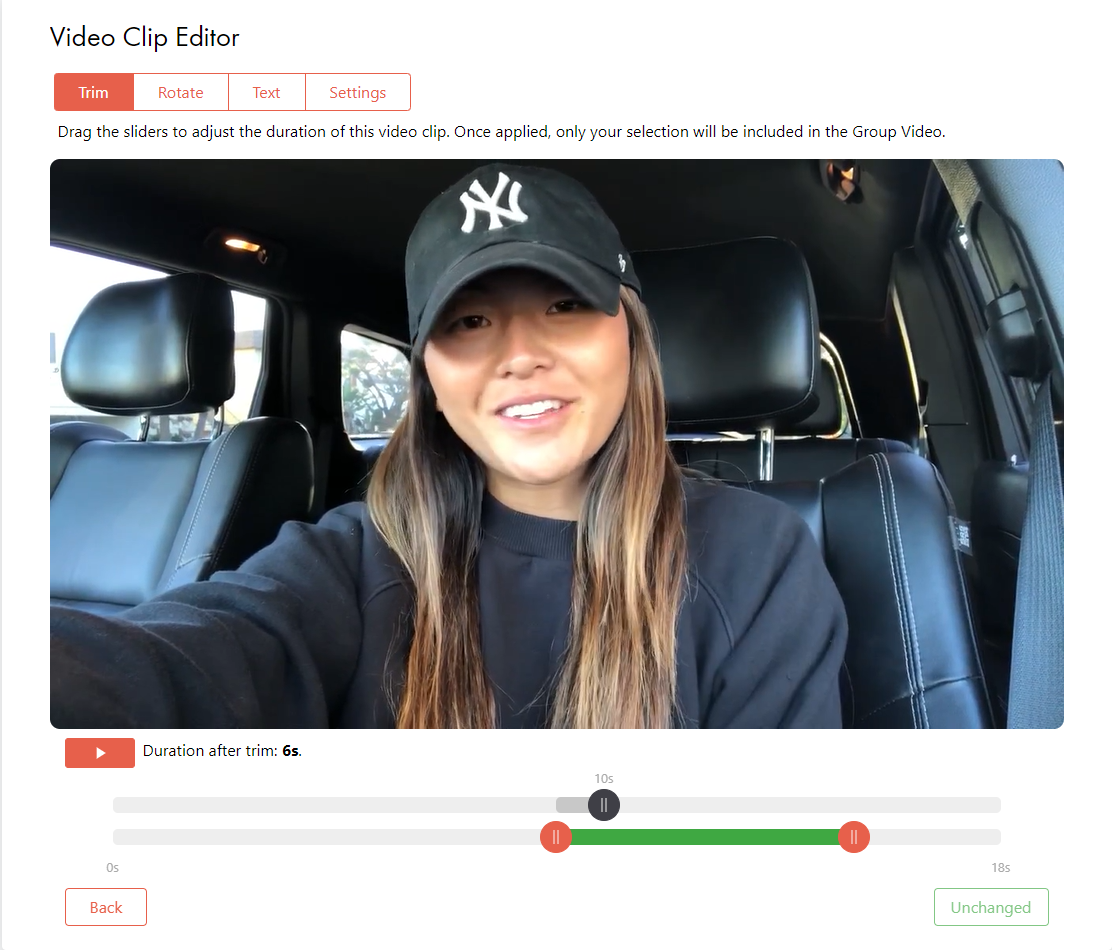
Montage organizers can also easily discard accidental duplicate clips or outtakes and trim clips that are too long. You can even add text to individual video clips to include a name and description to video submissions (this feature comes in handy if a long-lost great aunt contributes to the montage!).

How to Add a Montage Intro
Set the stage for your video montage with a personalized intro. The introduction is a short lead-in that appears at the start of the video and can be customized to include text and participants’ faces from their video clips. Add a sweet message that wishes the recipient a happy birthday, offers them your congrats, or thanks them for all they do. Faces are automatically pulled from the video clips if you choose to show them in the intro.

If you’d rather keep all of the faces a surprise until they appear later on in the video, simply set the “Add faces from clips?” feature to “No.”

Adding a custom background color is another easy and fun way to personalize your montage intro. Select the recipient’s favorite colors or colors that match your school, brand, special event, and more! Choose from a selection of available background colors or enter a specific color's HTML code.
Want to add a brief message at the end of the video? Include an “outro” and add 1-3 lines of text to wrap up your montage!
How to Make a Video with Photos and Music
Because montage videos are best when they are lively, face-to-face messages filled with joy, laughter, sincerity, and so many other emotions, we currently do not support still photos being added into a group video. Don’t fret: you can still include photos in your montage! Simply create a photo slideshow on any digital device, save it as a video, and then upload it to your montage.
Instrumental background music can help enhance your montage and elicit stronger emotional responses from viewers (think joyful smiles or happy tears!). If you choose to include background music in your montage, you can select from several songs and narrow them down with Mood, Genre, and Occasion filters. Listen to the song to make sure you like it, and then decide if you want the music to play in the background during the video clips or just during the montage intro and outro.
4. Create & Share Your Montage!
Once you’ve completed your customization, review your choices and correct anything you’d like to change. If everything looks good, click “Create” to start the video montage creation process! When the video is finished, you’ll receive an email with a link to your completed montage. If you review your final montage and notice you’d like to make some changes or add more video clips, simply click the “Re-do My Group Video” button to make any necessary changes.
It’s time to send your montage! Send the montage link to the recipient or download it as a keepsake. One thoughtful way to send the montage is to include the video link in a digital greeting card that can be personalized and sent right from your phone.
If you’d like to send the montage to everyone who contributed and they included their email address with their video submission, simply click the “Compose Email” button on your dashboard. This will open a draft message to share the montage video in your default email provider. You can also add it to your Instagram post generator and share the video more widely on social media. It's entirely up to you!
Congrats! You’re ready to create a beautiful and unforgettable video montage. Be sure to check out our advanced tips for your video montage if you’d like some extra guidance. Happy montage making!


